Apple Mail: Import/Export Mailbox
Export
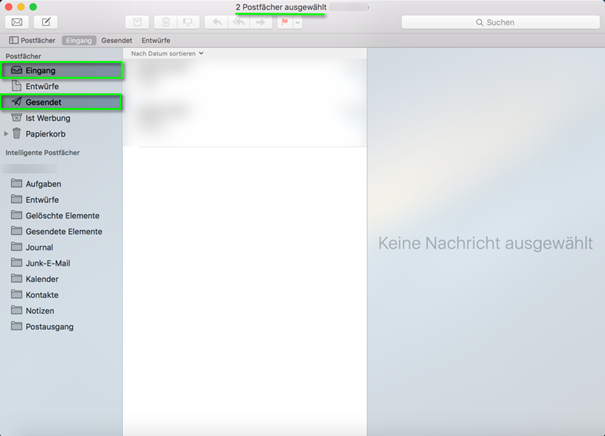
1. Firstly, select the folders you wish to export. Hold down the command key to select multiple folders..
2. Open your Mac Mail App and select the Mailbox menu. In the drop-down list, click on "Export mailbox..."

3. Select "Apple Mail" from under "Export data from:"and then continue with the process (Continue).

4. On the following screen, select the desired destination folder for the export. We recommend creating a separate folder for this purpose. Then click on "Select".

The export is now complete.
Import
1. Now that the e-mail account is set up again in your Mac Mail App, you can start importing your backed-up data.. To do this, select the "File" menu in the Mac Mail App and then "Import mailboxes..." in the selection list.

2. Again, select "Apple Mail" from under "Import data from:" and then continue with the process (Continue).
3. Next navigate to the backup folder created and select the backups. You may select multiple folders by holding down the command key

4. You will now see an overview of the "Objects to be imported". Select both (check box) and continue.

5. The import is now complete. Click on "Finish" to confirm.

6. You will now be able to see the backups locally in your Mac Mail. Note that these are currently not (yet) available in your mailbox. If you would like to be able to see the mails in your mailbox again, please follow the next step. The saved folders are stored locally in the same way as they are imported.

7. If you would now like the imported mails back in your preferred folder in the mailbox, you can move them accordingly. To do this, select the mails you wish to move. Right-click or 2-finger click on the touchpad, select "Move in". Then select the desired destination folder.
